One Background, Two Cards

Hello crafty friends! Today's card tutorial features the beautiful Abstract Floral stencil from Erin Lee Creative. You'll see how I was able to make two cards with one background using this stencil.
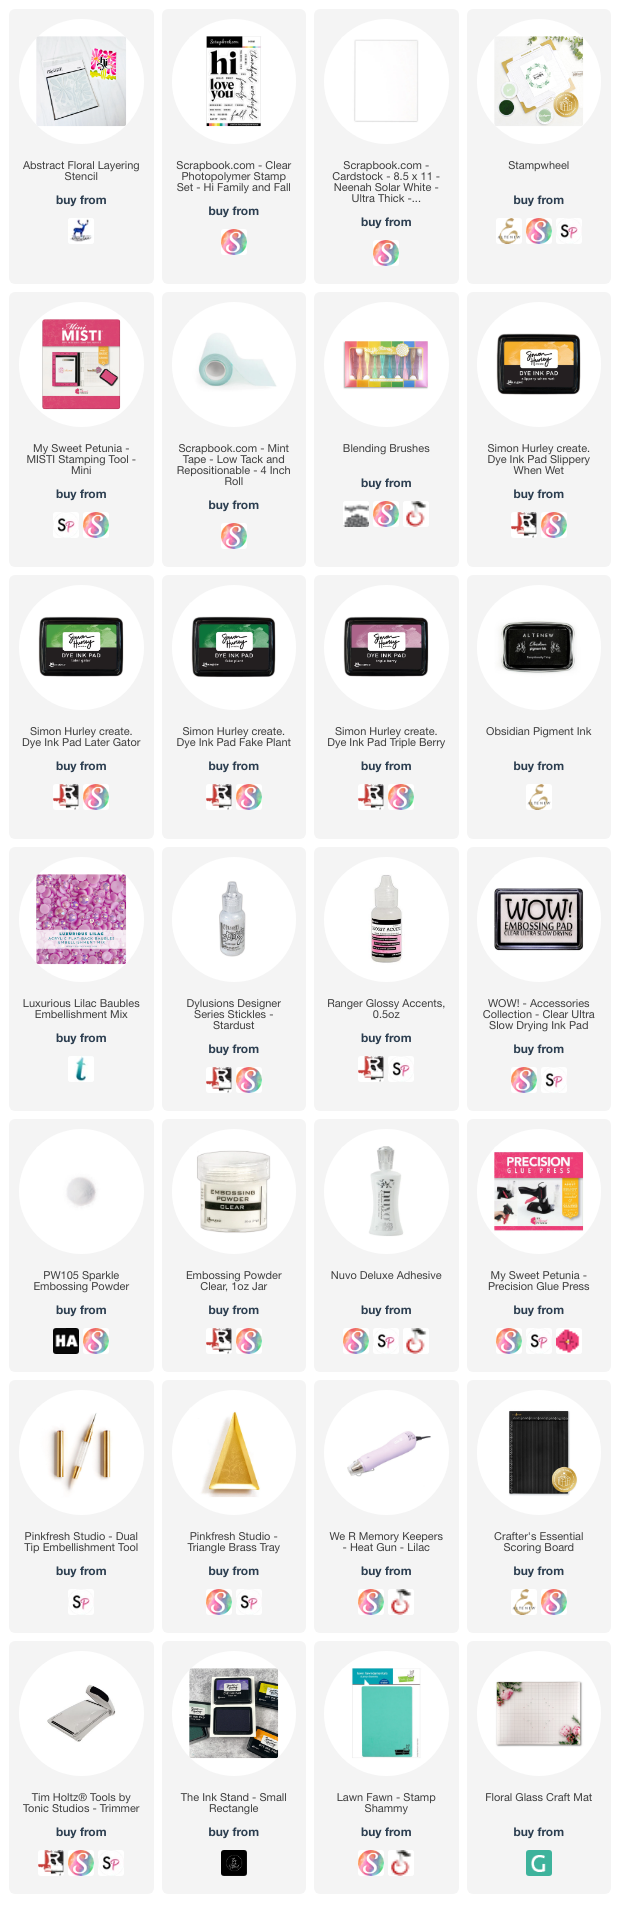
I started by trimming a piece of card stock 6x6, roughly the same size as the stencil. My Stampwheel came in handy to make it easy to hold my card stock in place. I used Slippery When Wet, Later Gator, Fake Plant, and Triple Berry Simon Hurley inks.

Once I was done with inking, I trimmed the stenciled background to fit an A2 card base, 4 x 5 ¼ . Then, I inked sentiments from the Hi Fall stamp set and heat embossed them with Sparkle embossing powder. Next, I heat embossed a top coat with Clear embossing powder.

After I created an A2 card base, I trimmed a piece of patterned paper and glued it to the card base. Then, I glued the stenciled background onto the card and added some glossy accents to the center of the flowers. I also glued some embellishments.

I really love how the first card turned out!

Do you remember that I started the stenciled background on a 6x6 piece of card stock? Well, after I trimmed it to use part of it for my A2 card, I had a piece left over to make another card!

The left over piece, I glued it to a piece of glitter card stock and also used another sentiment from the Hi Fall stamp set. To add more sparkle, I added some Stickles on the flower and glossy accents on the center of the flower.

I hope you have enjoyed today's card tutorial as much as I did when I made it! Make sure to follow me on Instagram as well as checking my previous blog posts for some fun inspiration. See you next time!
***Affiliated Links***


Beautiful cards! Thank you for sharing.
ReplyDeleteThank you!
Delete