Masking + Ink Blending
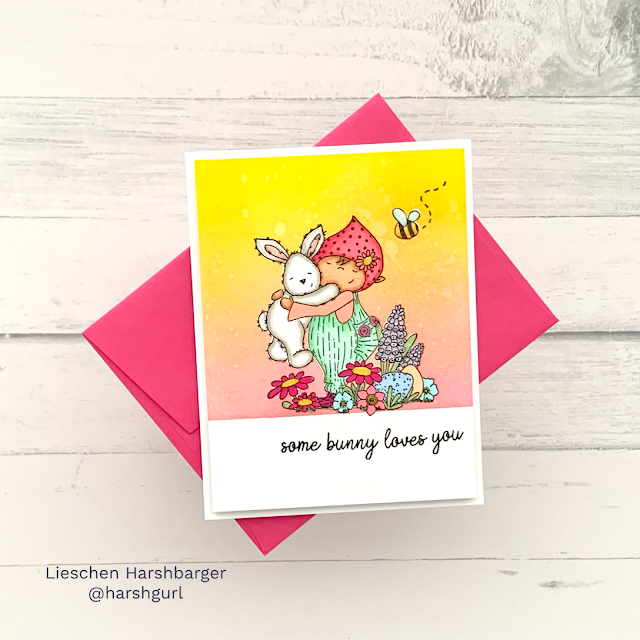
Hi crafty friends! Today's card tutorial features a stamp by Craft Consortium called "Let's Spring Begin Bunny". This stamp set has some adorable images! Let me show you I made this fun card.
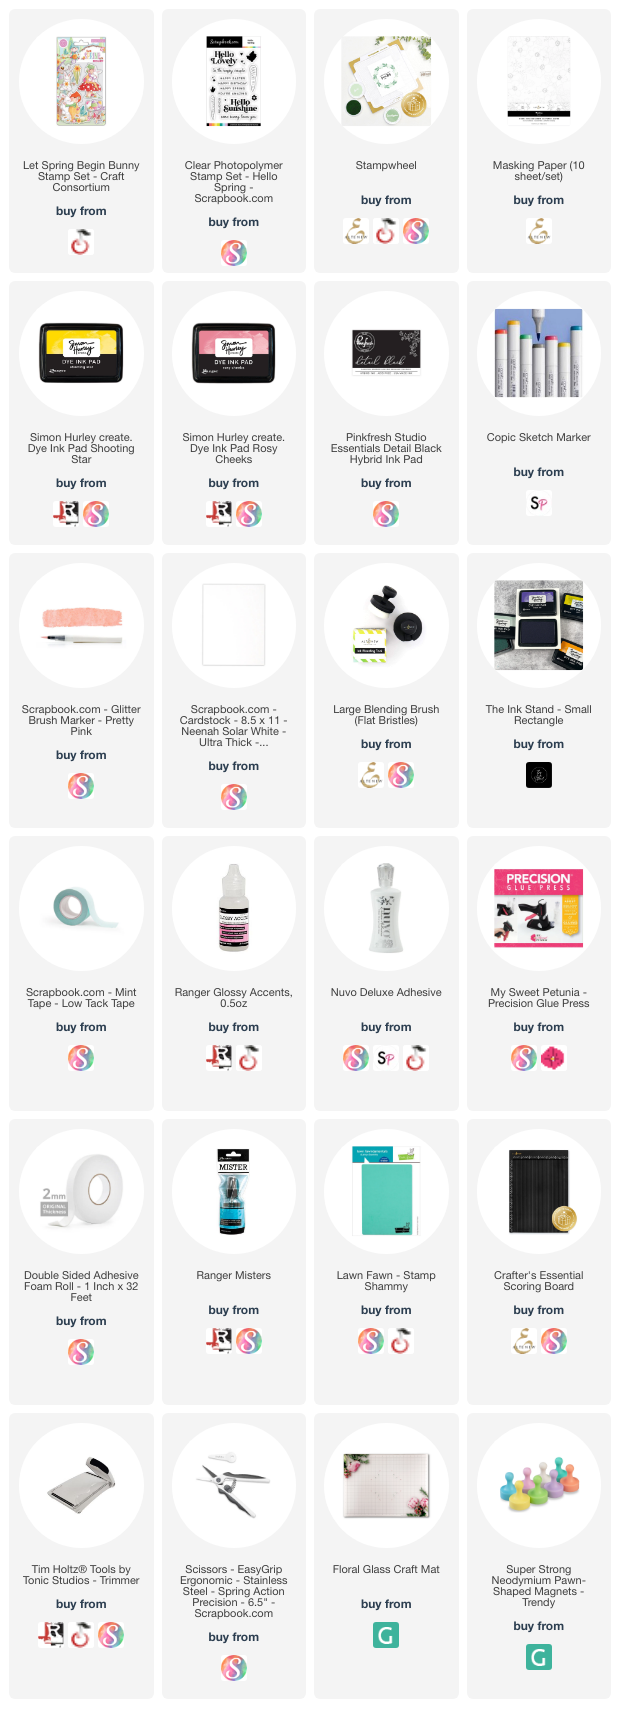
I placed the front panel piece on my stampwheel to make it easy to ink blend the background. I used Shooting Star and Rosy Cheeks inks on the background.
Once I was done with the ink blending, I started coloring the images with my Copic markers. I did use a pink glitter brush pen to add some sparkle to the girl's blouse.
Next, I stamped one of the sentiments from the Hello Spring stamp set that fit perfectly for this card. I felt the background needed a little something, so I used a mister to spray some water on the inked background.
Then, I added foam adhesive to the front panel piece and taped it to my A2 card base.
To finish the card I added some glossy accents on the flowers, bee, and bunny. Then, I paired this colorful card to a matching envelope. Now it is ready to be sent to a loved one!
I hope you have enjoyed today's card tutorial as much as I did when I made it! Make sure to follow me on Instagram as well as checking my previous blog posts for some fun inspiration. See you next time!
Affiliated links are used on this blog post at no extra cost to you. I receive a small compensation when you click through and shop using the links I have provided. This will help me to continue bringing you more fun projects on my blog, social media, and Youtube channel.
***Affiliated Links***


Comments
Post a Comment