New Archival Inks for Press Plates
Hi crafty friends! Today I want to share with you a card I made using the new Archival inks from Ranger Ink. These inks are great for any crafty projects, specially for those fun press plates.
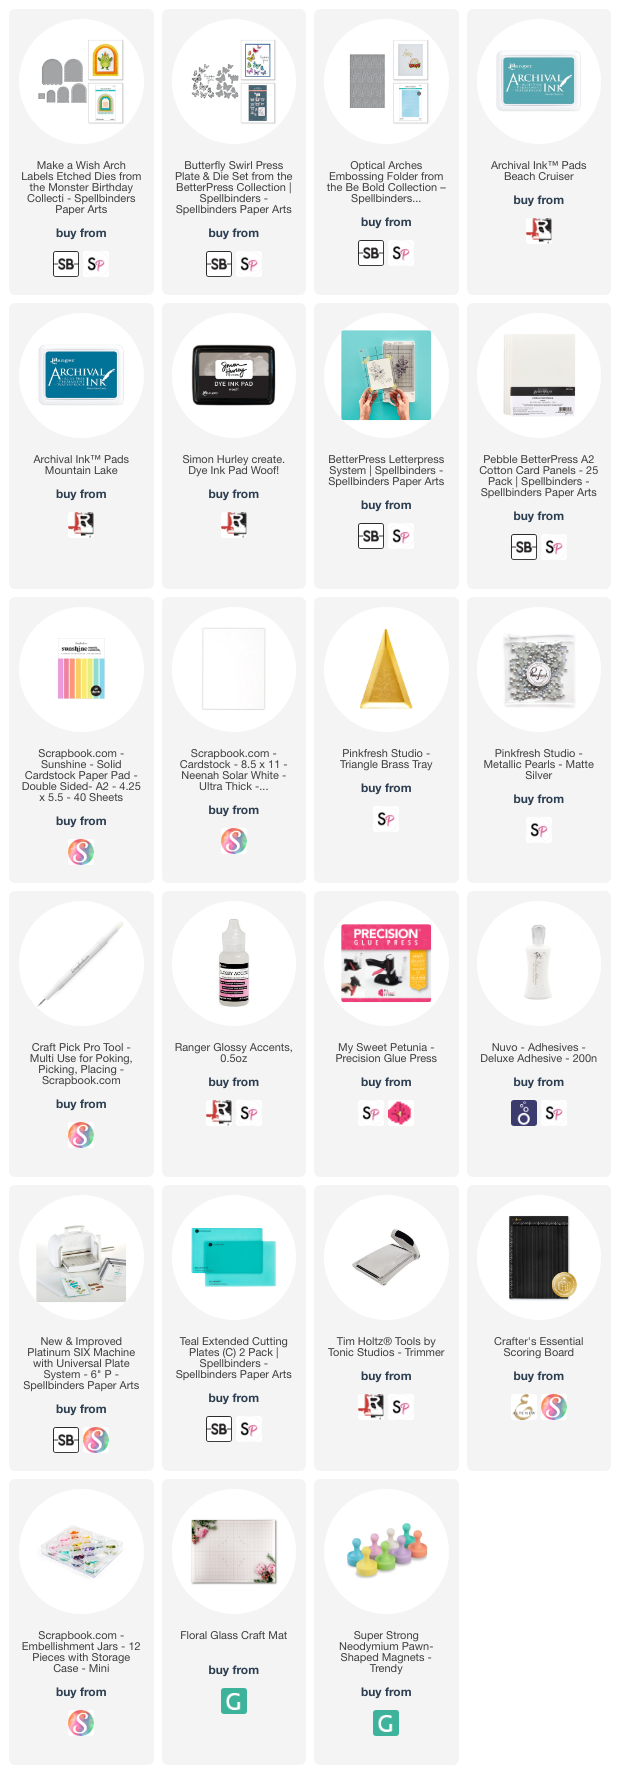
I started by die cutting one of the arches from the Make a Wish Arch Label dies out of a Pebble cotton panel. Then, I used the floral press plate that came with the BetterPress system on the arch die cut. Next, I inked the florals with Beach Cruiser and Mountain Lake Archival inks and ran the plate through my die cutting machine.
I know colors like Beach Cruiser and Mountain Lake are not the traditional colors to use on flower images but I wanted to do something a bit different 😊. Once I was done with the plates, it was time to color the beautiful flower image. For this, I used the Faber-Castell Polychromos pencils. The colors I used were: Beige red, Cinnamon, Coral, Venetian Red, White, and Dark Chrome Yellow for the flowers. For the leaves, I used: Earth Green Yellowish and Dark Phthalo Green.
Next, I trimmed a piece out of white card stock to use as a front panel piece for my A2 card base. I used the Optical Arches embossing folder to match the die cut I used with the floral image. On the embossed background, I rubbed Woof! ink to add a bit of color.
Then, I used the sentiment from the Butterfly Wishes Press plate set and inked it with Beach Cruiser Archival ink. Then, I used the coordinating dies to die cut the sentiment.
Next, I trimmed a piece of colored card stock that matched the ink color on the floral image and glued it to my A2 card base. Then, I glued the embossed background on the card base.
I added some foam adhesive to the arch die cut and some glue on the sentiment to glue on top of the arch die cut. Then, I added some foam adhesive to the arch die cut and taped it on the embossed background. I also added some Pinkfresh Studio pearls for some extra sparkle.
I also added some glossy accents on the center of the flowers to add more dimension to them.
To finish, I paired the card to a matching envelope. Now it is ready to be sent to a loved one!
There is an extra card I made with another set of the new archival inks, make sure to watch the reel on my Instagram page.
I hope you have enjoyed today's card tutorial as much as I did when I made it! Make sure to follow me on Instagram as well as checking my previous blog posts for some fun inspiration. See you next time!
***Affiliated Links***


Comments
Post a Comment