Love Pumpkin Season!
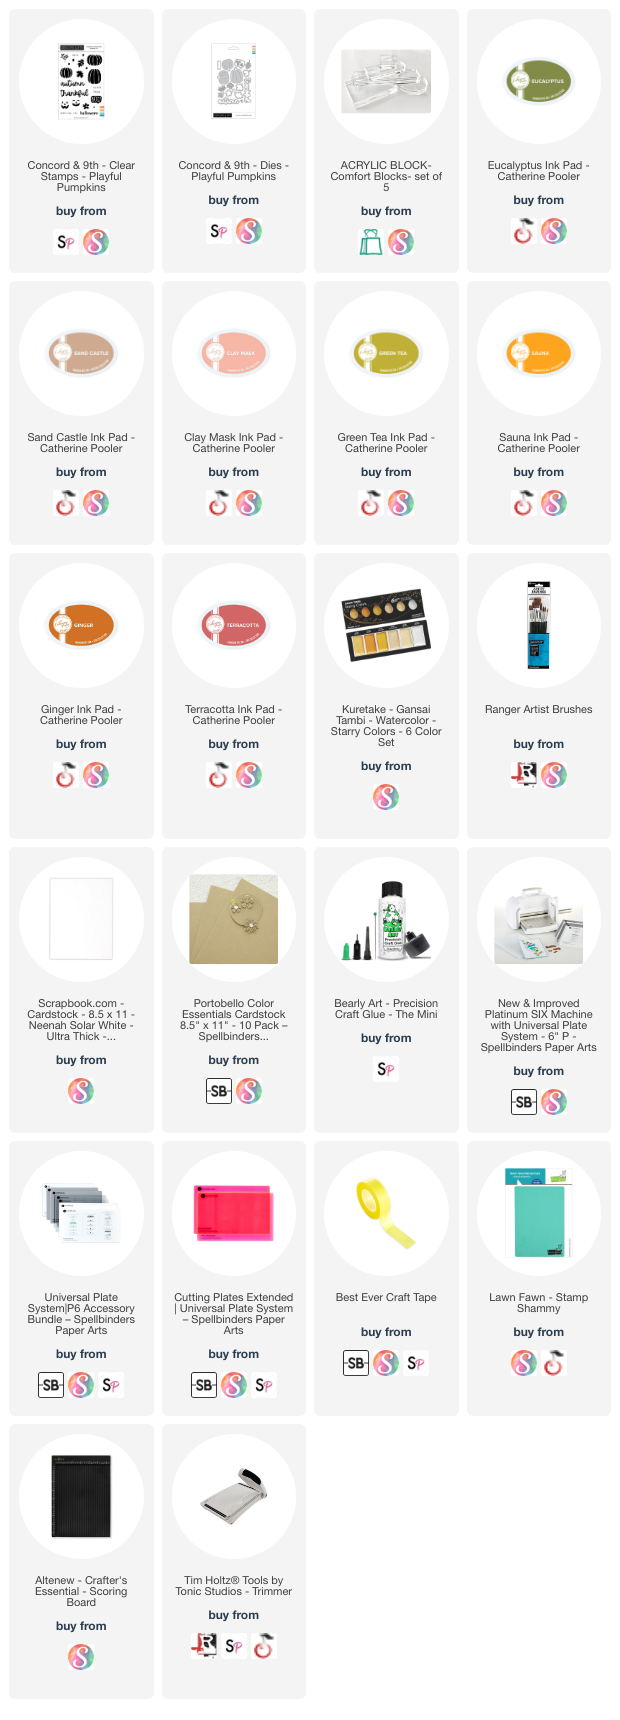
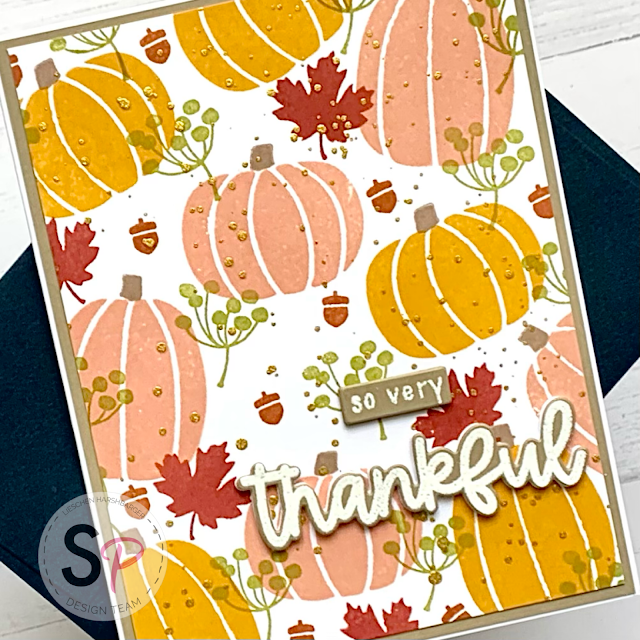
Hello crafty friends! Today, I have a very simple card tutorial to share with you. For this card I used the stamp set from Concord & 9th called Playful Pumpkins.
After I created an A2 card base, I trimmed two front panel pieces. One out of colored card stock (which I glued to the card base) and another out of white card stock. On this piece I stamped the images from the Playful Pumpkins using acrylic blocks. No Misti this time!
I used Catherine Pooler inks to stamp those lovely images.
Then I splattered some gold watercolor to add shine to the background. Next I glued the front panel on the card base.
To finish the card, I heat embossed sentiments from the Playful Pumpkins stamp set. I used the coordinating die for the thankful sentiment to die cut the sentiment. Then I paired the card to a complimentary envelope.
I hope you have enjoyed today's card tutorial as much as I did when I made it! Make sure to follow me on Instagram as well as checking my previous blog posts for some fun inspiration. See you next time!
***Affiliated Links***
Affiliated links are used on this blog post at no extra cost to you. I receive a small compensation when you click through and shop using the links I have provided. This will help me to continue bringing you more fun projects on my blog, YouTube channel, and social media.


Comments
Post a Comment