A Simple Wedding card

Hello crafty friends! Happy Friday! I'm finally back at home, I was in Indiana for over a week not only to visit family but to see our nephew get married. It was such a beautiful ceremony! And of course, I had to make them a wedding card to celebrate such occasion.

I began by creating an A2 card base. Then, I trimmed a piece out of colored card stock where I used the 3D embossing folder Beautiful Bergenia. After I embossed the front panel, I used a white pigment ink pad to rub the ink on the background. Next, I glued the background onto my card base.
Then, I die cut an older set of dies from MFT Stamps (they no longer have it :( but I included a new set of dies they have available and its on sale only today!) of a bride and groom. I die cut most pieces at least three times for dimension.
For the groom, I kept it simple: white and black card stock. For the bride, I used a Poly-Glaze Sheet and a foil transfer sheet that I ran through my foiling machine. I really tried my best to capture the foil details, but the lighting did not work in my favor.

Next, I stamped a sentiment inside the card, I glued all the pieces together, and glued them to the card base. I added some Stickles as buttons for the groom's suit. To finish the card, I paired the card to a complimentary envelope.
I hope you have enjoyed today's card tutorial as much as I did when I made it! Make sure to follow me on Instagram as well as checking my previous blog posts for some fun inspiration. See you next time!
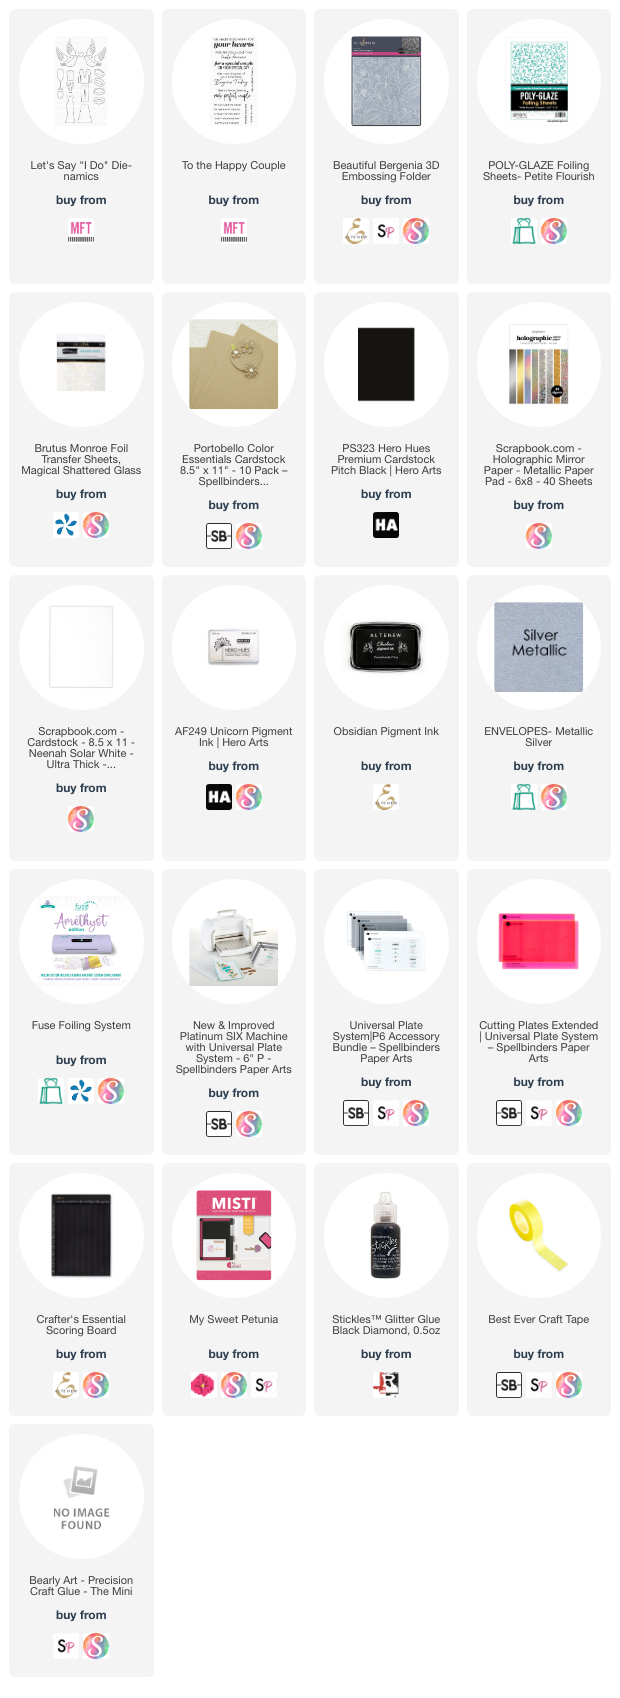
***Affiliated Links***
Affiliated links are used on this blog post at no extra cost to you. I receive a small compensation when you click through and shop using the links I have provided. This will help me to continue bringing you more fun projects on my blog, YouTube channel, and social media.


Comments
Post a Comment