Waiting For Fall

Hello crafty friends! I hope you had a great week. It's been very busy for me on my end with work but the other night I was wishing we already had fall weather here in Texas. It has been very hot this entire summer, so the thought of the nice and cool fall weather gave me inspiration to make a fall themed card using stamps and dies from Scrapbook.com
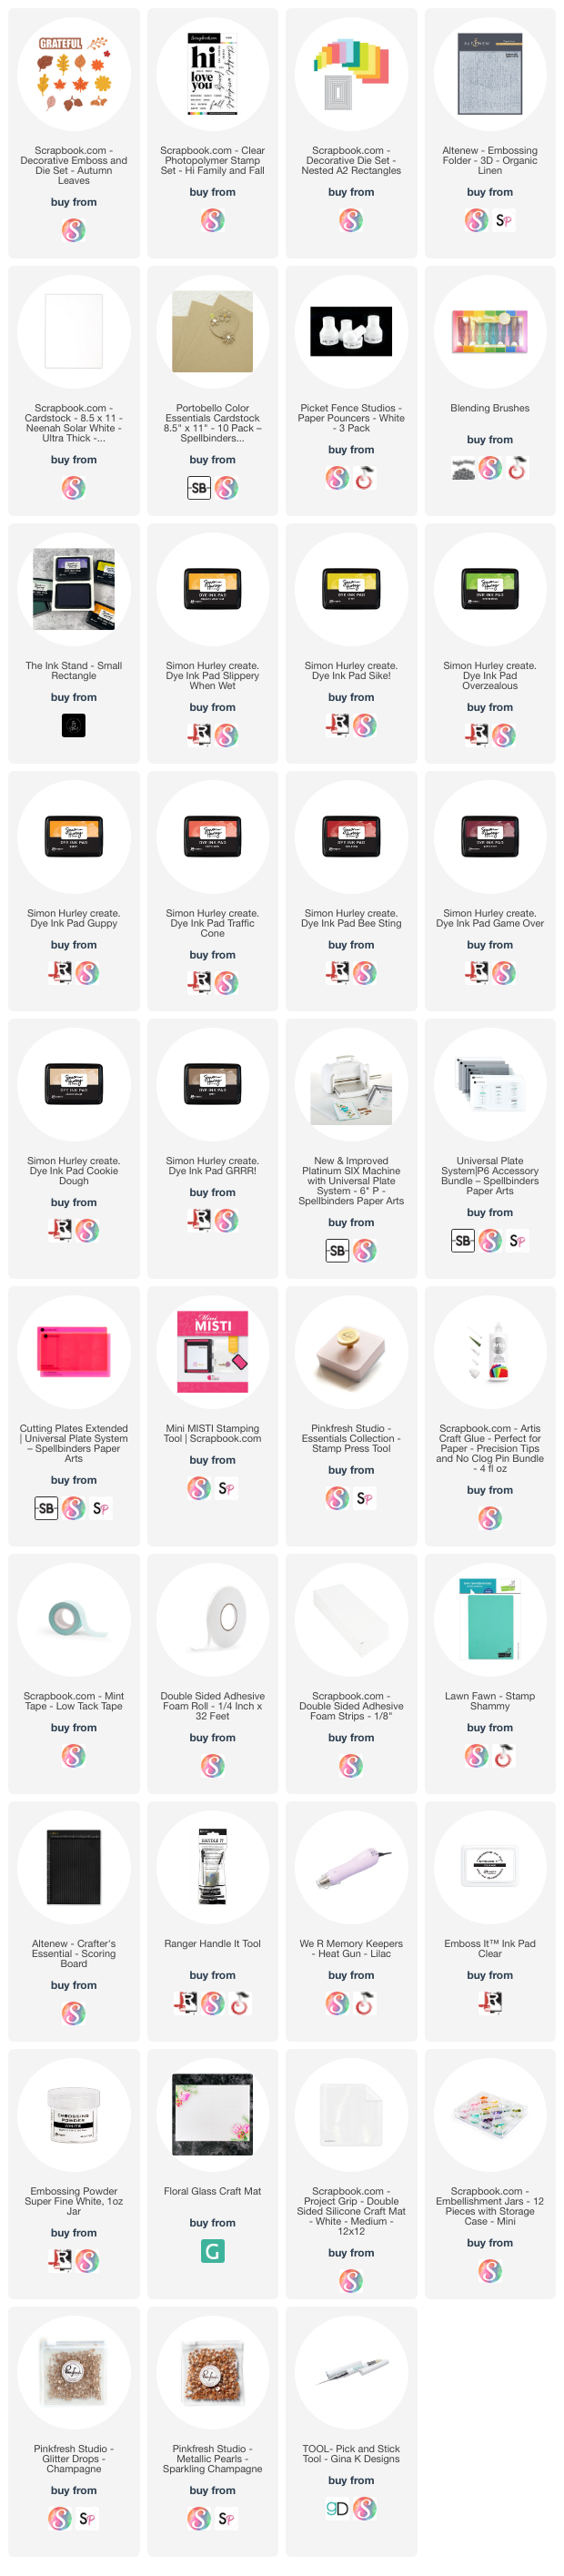
I started by die cutting leaves out of white card stock using the Autumn Leaves die set. I die cut at least 3 of each to use on the card - though I did have some leftovers that I can use on another card later.

Once I was done die cutting, I started inking the leaves with Simon Hurley ink pads. I used the Picket Fence Paper Pouncers to ink these die cuts. They made it very easy to ink all those leaves! To ink them I used Overzealous, Slippery When Wet, and Sike! for the first set of leaves.

For the next set, I used Guppy and Slippery When Wet.

Keeping the fall colors theme, I used Traffic Cone and Bee Sting on the next set of leaves.

Next, I used Bee Sting and Game Over.

On the next set leaves I used Guppy and Grrr!

For the last die cuts I used Slippery When Wet and Game Over.

Next, I heat embossed one of the sentiments from the Hi Family and Fall stamp set with white embossing powder.

When I finished embossing the sentiment I started working on the front panel piece for my A2 card base. I wanted some texture, so I used Altenew's Organic Linen 3D embossing folder on the piece of card stock and ran it through my embossing machine. Then I rubbed the Cookie Dough ink pad on the embossed front panel piece to add a bit of color.

After I was done with the front panel piece it was time to assemble the die cuts and glue them together to create the main piece of the card. I used Scrapbook.com Artis glue and foam adhesives to glue and tape the leaves and sentiment.


***Affiliated Links***
Affiliated links are used on this blog post at no extra cost to you. I receive a small compensation when you click through and shop using the links I have provided. This will help me to continue bringing you more fun projects on my blog, YouTube channel, and social media.
Comments
Post a Comment