Simon Hurley's New Release: Christmas in July!

Hello crafty friends! Today's blog is all about Simon Hurley's new release over at Ranger Ink, which is all about Christmas! If you know me, you know I absolutely LOVE Christmas. It is my favorite time of the year! So, you can imagine how much I enjoyed making today's cards. You will find a full list of supplies at the end of this blog post.
To start, I made two A2 card bases. I trimmed an 8½ x 11 card stock down to 4¼ x 11 (this will give you two card bases), then I scored both card bases at 5½. Cut another piece measuring about 4 x 5¼, which I use as the front panel for one of the cards.

On the front panel, I used the new Evergreen background stamp. This is another great background stamp that you can use as a whole or you can peel-apart pieces/strips to make your own background. For today's card I used the whole stamp and heat embossed with white embossing powder. Then I ink blended the background using Tropical Tango, Remember Me, and Clear Skies. I also splattered some gold watercolor to give it a bit of extra shine.

This is where it started to get fun for me! I used one of the Hero Arts nested circle dies to die cut my background. This will give me the opportunity to make two different cards.

On the circle die cut, I die cut another circle on white card stock so I could then use the Lawn Fawn Stitched Hillside Borders to create a cute little hill. Then I glued it to the circle die cut.

Next, I drew a circle on the card base (using the circle die cut) so I could stamp a couple of sentiments that come in the Polar Penguins stamp set. To stamp the sentiments, I used Prom Queen and Tropical Tango. Once I was done stamping, I erased the circle.

To finish the card, I stamped and fussy cut one of the cute penguins from the Polar Penguins stamp set and colored them with Copic markers. I also added some chunky glitter on the hill and a sentiment from the same stamp set and heat embossed it with white embossing powder.
For the next card, I used the leftover to make a shaker card!


I placed some double-sided tape on the back of the front panel piece and a trimmed a piece of acetate. Then I taped them together.

Then I trimmed another piece of card stock. On this piece, I drew a hill and then heat embossed the hill with Cottontail embossing powder. Then to add some sparkle on the hill, I added some chunky glitter. Next, I used Clear Skies ink and the Scene Maker stencil to add some clouds.

Going back to the front panel piece, I used some strip foam adhesive on the back of the front panel to secure the embellishments within the shaker card.

Once I added my embellishments, I glued everything together and taped it to the card base. To finish the card, I stamped and fussy cut another image of those cute penguins from the Polar Penguin stamp set and colored them with my Copic markers. I also added one of the sentiments from the stamp set which I heat embossed with white embossing powder.
I hope you have enjoyed today's blog post! For more inspiration you can always follow me @harshgurl (Instagram).
Make sure to check out Simon Hurley's new release, I think you will love it!
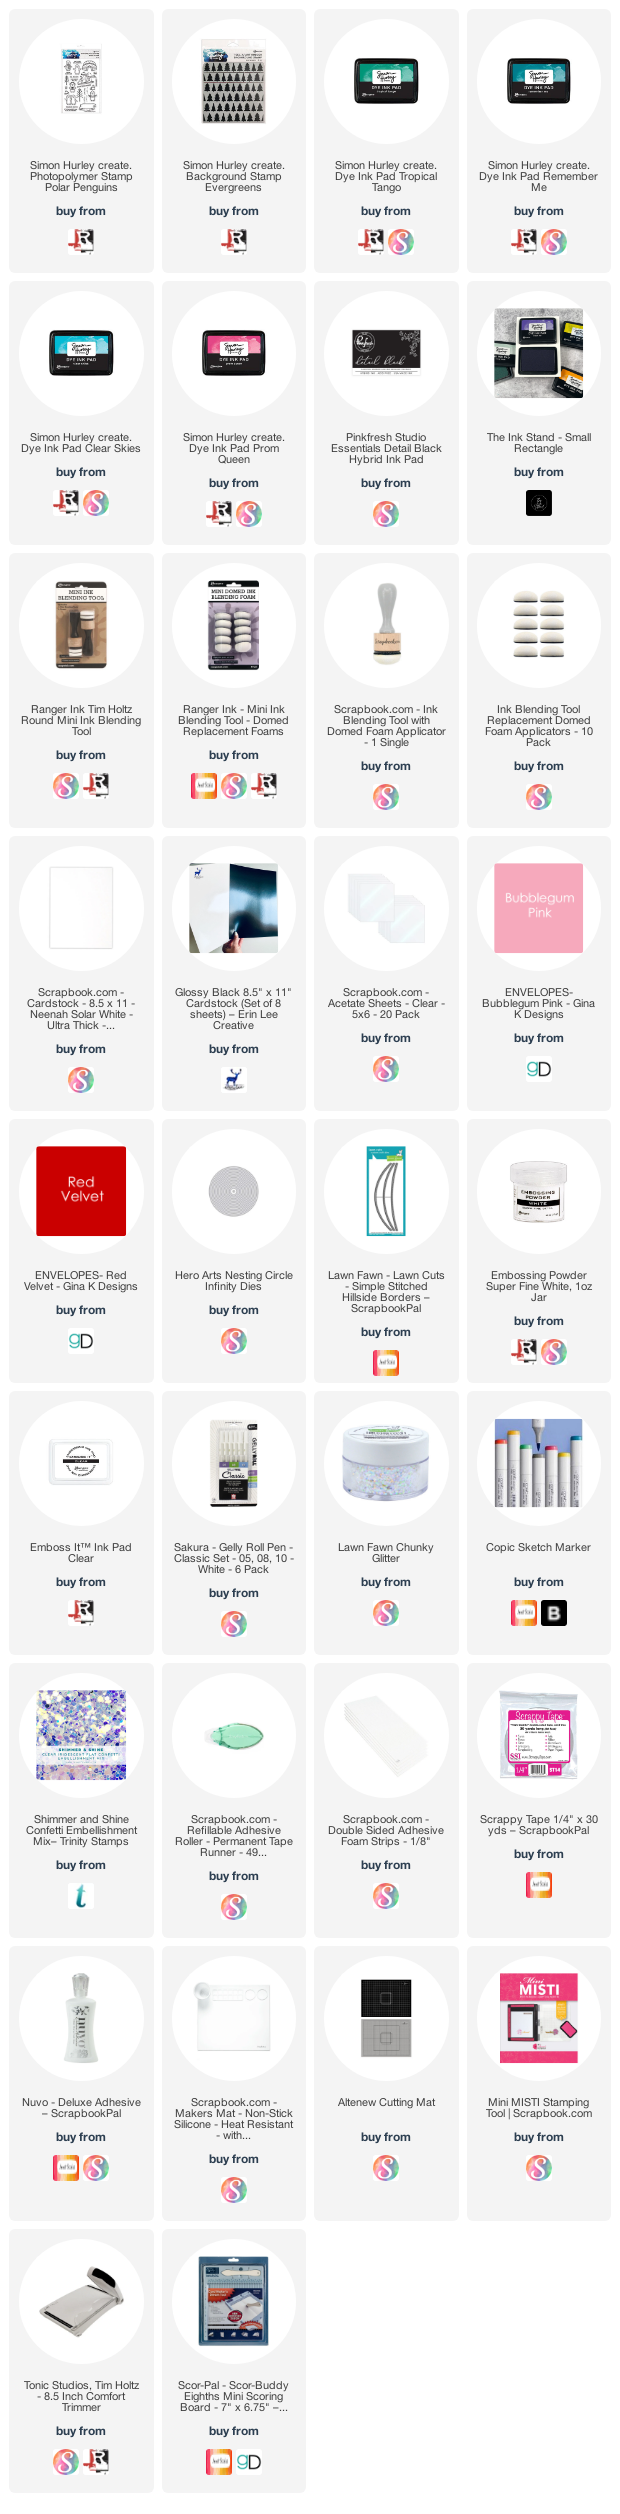
Also, most of today’s supplies you can find at Scrapbook.com, there are a lot of sales this month! Also, don't forget to check their coupons section, they have free gifts available with your purchase!


***Affiliated Links***
Some affiliated links are used on this blog post at no extra cost to you. I receive a small compensation when you click through and shop using the links I have provided. This will help me to continue bringing you more fun projects on my blog, YouTube channel, and social media.


Comments
Post a Comment